In my previous post, I have explained how to create excel
service. In this post we can see how to Manage the excel service application.
By navigating to manage excel service application page, we can see six links,
allows us to manage the service application.
By clicking on the Global Settings link, we will be
redirected in to Excel Service Application settings page. This includes
settings for Security, Load Balancing, External Data, Memory utilization and
Workbook cache.
Security settings will gives the options for excel service
application authentication, communication and service settings. File Access
method for excel services will have two options Impersonation and Process
account. Impersonation enables a thread to run in a security context that owns
the thread. We need to select the Impersonation, when workbooks are stored in
http locations. Process account option need to be used when excel services
opens the work books from HTTP sites. In the Connection Encryption section, we
need to use Internet Protocol Security or Secured Sockets Layers (SSL) to
encrypt the data transmission. There no need of connection encryption by
default. But if we choose the require connection encryption option, excel
service application server enable data transmission between the client computer
and front-end web servers.
Load Balancing settings allows us to maintain the sessions
across the excel calculation
services process.
Session Management settings allow us to set maximum number
of sessions allowed per user.
Memory Utilization settings will gives the options to
allocate the memory on the excel services.
By using Workbook cache settings, we can set the caching
workbook files on the disk and in memory.
Through external data settings, we can handle the external
data connections in excel calculation services.
“Trusted File Locations” in Excel services, trusts the
entire SharePoint farm. In SharePoint, by default we have a trusted file
location (http://) enables any file to be loaded from SharePoint server farm or
stand-alone deployment. By trusting the whole SharePoint farm enables the
easier setup for the administrators. For security purpose we can create new
trusted file locations. Trusted file locations may be SharePoint sites or http
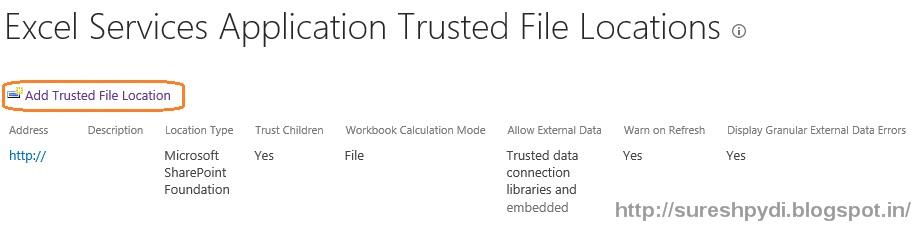
sites that running the excel services that allows accessing workbooks.To add the new trusted location, Click on the “Trusted
Locations” link, we can see Excel Services Application Trusted File Location
page. Click on “Add Trusted File Location” link on the top of the page.
In the Address text box, we need to specify the location of
the excel documents that excel services trust. We have to specify the type of
the address in the location type like SharePoint or network file share or HTTP.
If we want to trust the all children for that location, check Children
Trusted in the Trust Children section.
In the Session Management settings section Session Timeout
field specifies the maximum time that excel calculation service open/active. We
can measure the session timeout that request time to reach start to end. The
default session tome out is 300 sec. Short session timeout specifies the
maximum time that excel web access service open/active. This is similar to session
time-out setting. Default value is 75 sec. Maximum request duration filed
specifies the maximum duration of a single request in a session.
Workbook property settings specify the behavior of the
workbooks from specified trusted location in excel calculation services. Here
Maximum Workbook size specifies the maximum size of the workbook that can be
opened from Excel calculation service. Default value is 10 MB. Maximum chart
size specifies the maximum size of the chart that can be opened by excel
calculation service. Default value is 1 MB.
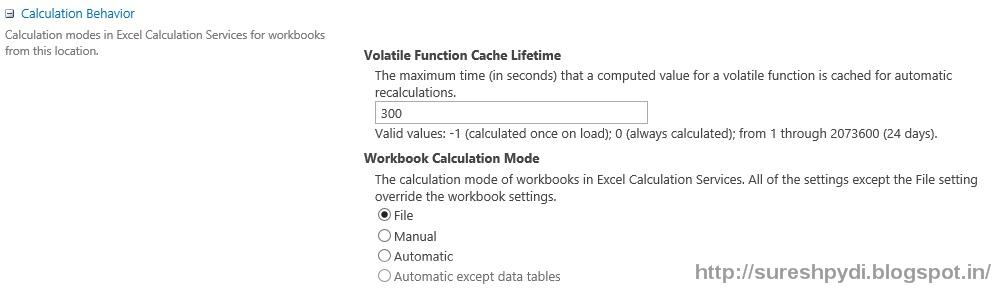
Calculation behavior specifies the modes of calculation in
excel calculation service. Volatile
Function Cache Lifetime field specifies the value for maximum time that
computed value for automatic recalculation cache. Default value is 300 seconds.
Workbook Calculation mode specifies calculation mode of workbooks in excel
calculation service. Manual, Automatic
and Automatic except data table’s settings will override the settings. Default
value is File.
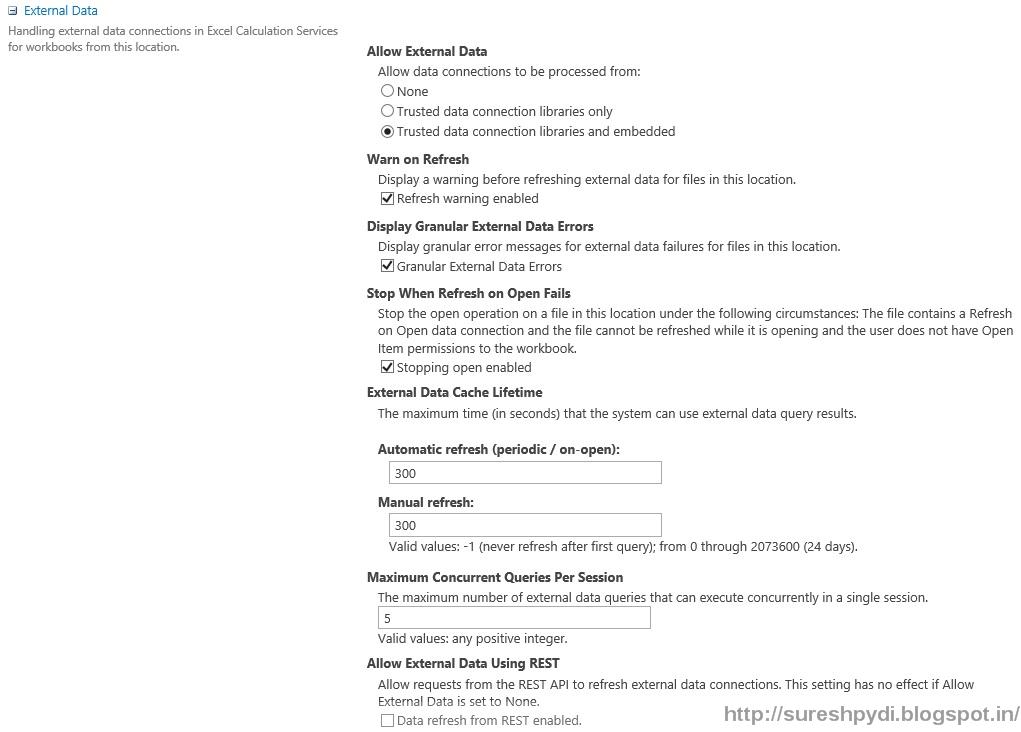
External data services specifies how excel calculation
services should handle external data connections in workbooks from trusted
locations. Allow external data field specifies the external data processing. To
disable the external data connection, we have to select radio button None.
Trusted data connection libraries or trusted data connections libraries and
embedded will allow the connections embedded with trusted location workbooks.
Refresh warning enabled will display the warning message before refreshing the
external data in workbooks from trusted locations. Default is enabled. Stopping
open enabled to stop the open operation on a file from trusted location when
the file contains the refresh. Default value is enabled. Automatic refresh
(periodic/on-open) specifies automatic refresh duration period. Default value is
300. Manual Refresh field specifies the manual refresh duration. Default value
is 300. Maximum Concurrent Queries per Session specifies the value for the
number of eastern queries can execute in a session concurrently. Default value
is 5.
User-defined functions allowed in the User-defined functions
section, allows permitting user-defined functions to call from workbooks from
trusted location. Default value is disallowed.


